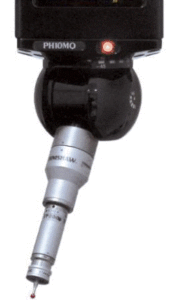
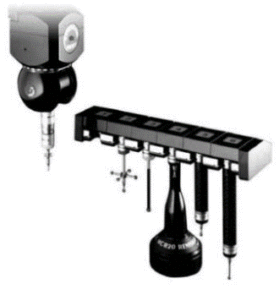
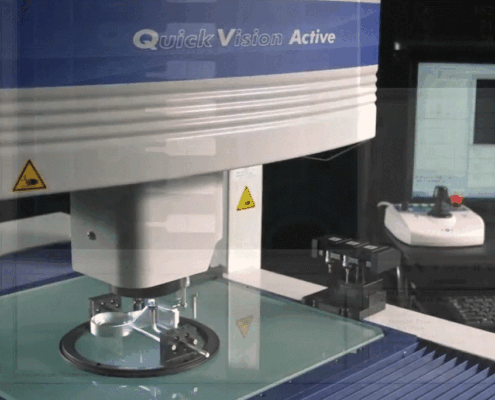
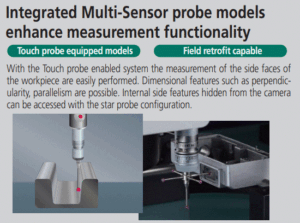
Intelligent and Automated Processing Tools allow for unattended inspection of both 2D and 3D parts on the 404TP machine. With a measuring range of 400mm x 400mm x 168mm the majority of our products can be checked.
Any larger parts – typically gaskets, can be measured with our Renishaw probe attached to our multi-axis 2mt x 2mt CNC machine. With this we are also able to check flatness over this area, something often difficult to do with large parts where long-range gauges are not available. Products supplied to the Nuclear Industry and Electric Battery Industry for instance, often require critical thickness over large parts.
Using multiple colour cameras and lighting positions, the visual measuring system offers high speed, high accuracy and high throughput resulting in the software sending data direct to PDF forms for quality requirements such as PPAP reports etc.
The same dimensional capture can also be used to create drawings and CAD files for replication of both 2D and 3D parts, speeding up what is often a slow and tedious task for our draughtsmen.
